Showing posts with label WIP. Show all posts

Monday, 21 November 2016

INTERACTIVE :: 22/11/16 - Completed Animations

Finished up the final two animations that I needed today!  Here are the playblasts for them:

Death Animation:

Walk Cycle (single loop):


In terms of frame counts, the final Maya file contains all of the following:

  • Attack Animation - 20 frames: 01 - 20
  • Idle Animation - 40 frames: 24 - 64
  • Jump Animation - 38 frames: 68 - 106
  • Death Animation - 28 frames: 110 - 138
  • Walk Animation - 16 frames: 142 - 158

I'm cleaning up the final animations in the graph editor to make sure they're optimized for the game now, and will post a rendered video of the moth's animations once it has finished rendering.  Hopefully we'll be able to place the central character into the game tomorrow without any problems, which will then only leave me to make the opening sequence for the game.

Sunday, 20 November 2016

INTERACTIVE :: 21/11/16 - Character Animations

Over the past week I've been slowly working on the animations for the moth character, with varying degrees of success.  Currently I'm looking up tutorials for how to do a convincing walk cycle and death animation, as these are the last two animations I need to create to place in the game.  At this point we're going with a one-hit kill format similar to classic games like the original Super Mario in order to save time.  Hopefully it will only take me today and tomorrow to get these animations done, and spend the rest of the week writing up the flavor text and drawing introduction images for the beginning of the game while Patrick puts everything into Unity.

Here are the other animations I've made for the project so far, in playblast form:

Attack:


Idle:


Jump:

Tuesday, 15 November 2016

INTERACTIVE :: 16/11/16 - Controls

Took me longer than i wanted to get to this point, but controls have been added and completed for the moth rig


Saturday, 12 November 2016

INTERACTIVE :: 13/11/16 - Moth Rigging

Most of the week has been spent rigging and painting my moth's skin weights to make sure that it moves and flexes correctly.  With the model as simple as it is, figuring out the skin weights has not been too difficult.

Skin weights have been mirrored so that both sides are even.


Over the weekend, I made a quick animation to showcase what the rig can do!  Due to its tiny limbs, however, it is somewhat difficult to show the moth doing things that require extensive stretching of its arms and legs.  it was only after I finished rigging that I also noticed I positioned the joints of its arms wrong, so making them rotate can be a bit of an issue at times.


At this stage, all I need to do is add controls and then I can begin animation!  I may require a refresher course on how those work, but it shouldn't take too long.

Wednesday, 2 November 2016

INTERACTIVE :: 02/11/16 - Rigging Moth

The past couple of days I have spent trying to refamiliarize myself with the rigging aspect of 3D modelling.  The moth feels like it will be a lot easier to rig than the model I created last year, as it has very simple arms/legs with no fingers.  I honestly only wanted to spend a couple of days on getting the rig together, but unfortunately, personal issues have arisen and I'm a little behind on where I would like to be with it.
There aren't really too many progress shots to show so far - I've created all the joints and put them together in a hierarchy, ready to bind to the skin once I confirm with another group member that everything is connected the way that its supposed to be.


Also, while messing around yesterday, me and the rest of the team accidentally ended up creating a more appealing moth, as well as creating a basis for the 'sage' character by being silly and messing around with the character's fur parts.

The moth actually looks quite cute with fluffy pants, even if the 'pants' are just a rotated version of the fluffy collar around its neck.


As for the sage, we found that by increasing the size of the fur collar and shifting it up, we could create a pretty convincing beard.

This one was just for fun.  It really looks like a sheep now.

Thursday, 27 October 2016

INTERACTIVE :: 27/10/16 - Moth UV

Showed the moth to the group today and got some suggestions on how to improve it!  Patrick suggested that I make sure that none of the geo was clipping into itself, so I've modified the little curls further in order to better reflect that.  Now none of it is clipping into itself.


I've UV'd certain parts of the moth as well - the head, body, wings, and goggles.  The hair and neck fluff I left alone since that is just needs to be one flat color, and while I assumed that I could just leave the antenna alone, but now that I look at them, I feel like I should probably add a feeler texture to them too.  I'll be doing that later.


Right now we're trying to figure out what kind of colors we want for our moth protagonist, and going back to my concepts, it was suggested that I try either the Rosy Maple moth or Royal Walnut moth colors (first and last moths featured), due to the fact that they would have a good amount of contrast against the brown/grey palette of Patrick's level.


I still need to make the UVs for the Royal Walnut, but here's a turnaround of my rosy maple moth!

I also added toon shader textures to it, just for fun, as well as a smoothed the mesh out.  Neither of these will be used for the project, which is kindof a shame since they look so nice!


Tuesday, 25 October 2016

INTERACTIVE :: 26/10/16 - Still sculpting

More progress has been made on the moth!  Yesterday I finished his hair, complete with tiny spirals.  I fell back onto using a NURBS curve + extrude method to make them.


I wish i'd added more edge loops to it though, because the shape ended up kinda awkward.  It still looks good though, so I'm quite happy with it.  The moth is starting to look like a little sheep.

But today, I have finished the basic model!  Instead of struggling with modelling the neck from scratch, I cheated a bit and used a torus.  The fluff on the arms are made of individual spheres.  I also created a second set of spirals using the NURBS curves.


Now that that's been done, I've been doing some housekeeping and organized parts of the moth into layers and groups.  All of the individual parts have been frozen and the pivot has been centred on each of them.  I had a little trouble with objects that I mirrored refusing to freeze, but I got around it by combining and duplicating the meshes and deleting the halves that I didn't need.


Wednesday, 19 October 2016

INTERACTIVE :: 20/10/16 - Moff progress

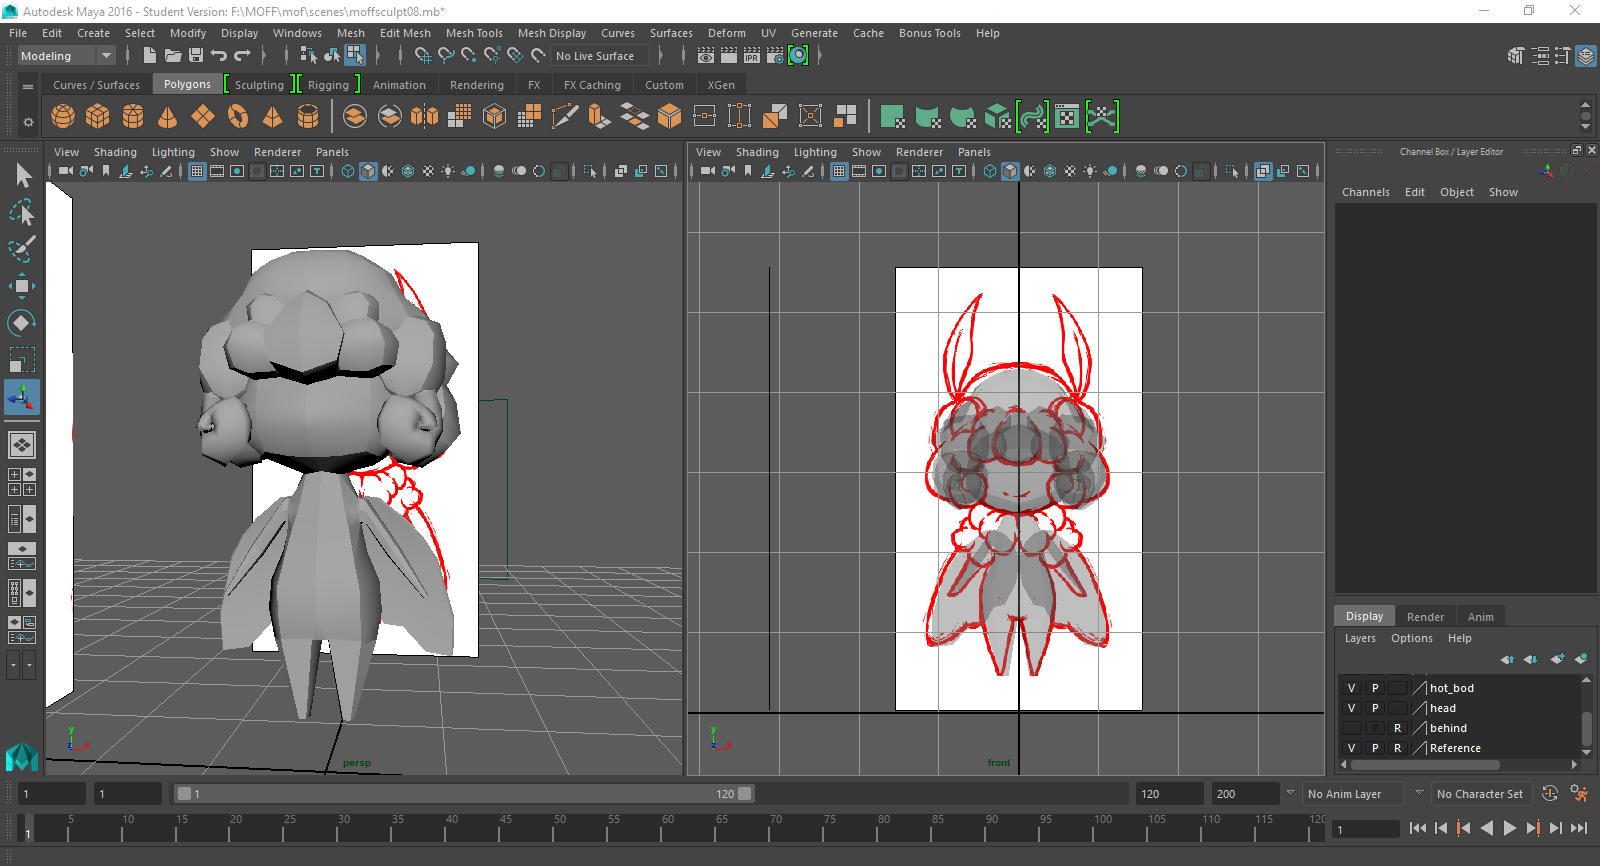
Been slowly working on the moth sculpt over the week!  I'm utilizing as much of class time as possible to make progress on him, and its starting to look pretty good!


This is where I was at on the sculpt yesterday, the basic shapes of the body have been pretty easy to make.  Initially I considered making the wings out of planes, but making a thin 3D shape seems to have worked out pretty well too.  Its slim enough that it shouldn't be too hard to move when end up rigging.

Today however, i started sculpting the moth's hair, using one giant piece for the main hair body and smaller parts for the fringe parts.  As much as I wanted to sculpt the entire thing from one piece, I had a hard enough time with the base part, so smaller, individual hair parts are probably the better idea here.


Its been pretty slow going, but I'm hoping to have that and the neck fluff done some time early next week so I can start rigging.  I need to add more circular shapes to the sides of the head and make an indent for the moth's goggles.  Not entirely sure how I'm going to go about making the little curls on either side of his face but I guess I'll figure that out when I get there.

Monday, 17 October 2016

INTERACTIVE :: 18/10/16 - Making Moffs

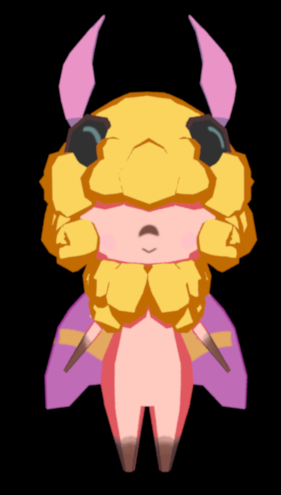
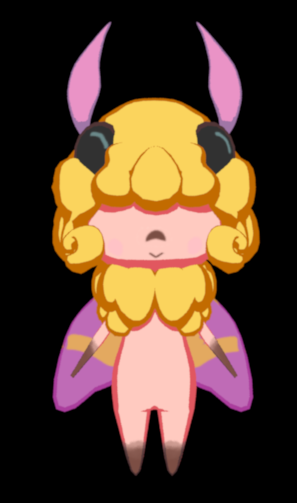
My job within the group now is to build and rig the protagonist model for our game, animate it, and I'm assuming also program in its required behaviors for Unity.  I began work on this last week by drawing up a sketching up a turnaround to model the character off:


As of right now I'm not sure how I'll be modelling things like the character's hair and fluffy parts out of single pieces of geometry, but I'm focusing on on its basic body structure for now!

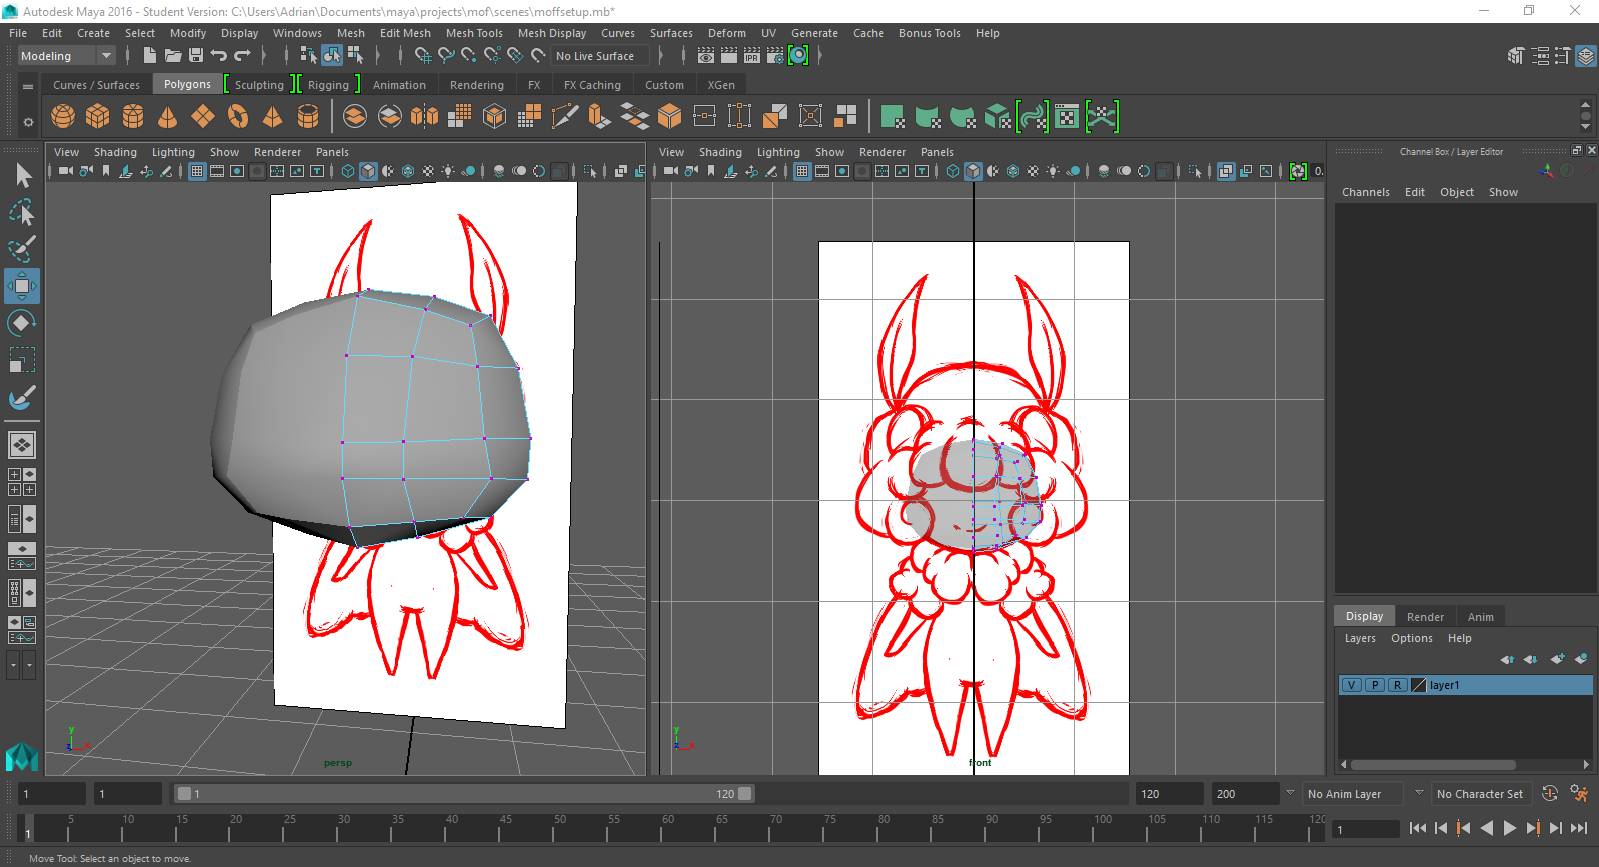
It was very frustrating, but I forgot a lot of what I learned about character modelling last year, and it took me so much longer to get underway than I would have liked.  However, I did get started, and so far have a basic head shape to work with.  I'll be constructing the body and arms next, and from there figure out how to create the hair and fluff parts.


Wednesday, 21 September 2016

INTERACTIVE :: 22/09/16 - Modelling Mushrooms

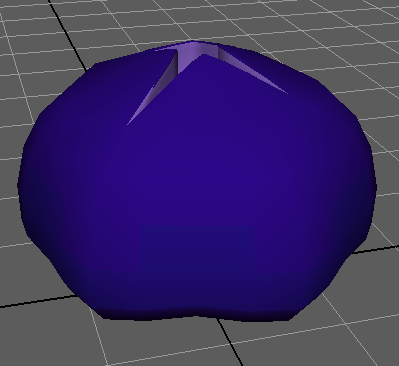
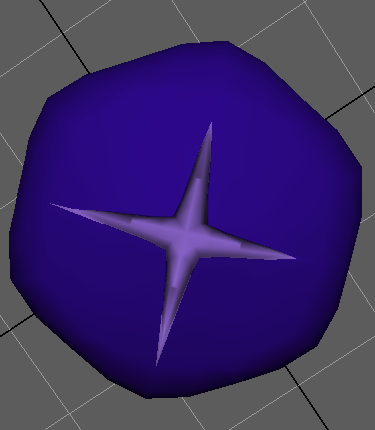
Last Friday was spent modelling a mushroom for our current assignment.  After playing around with toon shaders in Unity, these were the results

The mushroom is made of two parts - A cap and the stem, both of which are separate meshes.  I had a bit of trouble unwrapping the UVs as my tool malfunctioned and I couldn't go back a step as easily as I would have liked, and ended up spending most of the day trying to figure out how to unwrap the mesh in a way that wouldn't warp the textures I wanted to use.  Even now the texturing isn't perfect - I feel the stripes on the mushroom are too big - but the concept gets across and I may end up refining that later.

I used a ramp shader for the mushroom cap and UV mapped it to create the following result.  I found a tutorial that suggested putting normal and darkened versions of the UV map into the shader's color slots in order to create an effect similar to Wind Waker - which is kind of the shading style we wanted for our game.  The resulting mushroom is still pretty simple, but I'm very pleased with how it turned out.

Here are the UVs


The mushroom base just uses a toon shader with 3 colors.

The animation is also quite simple - the mushroom cap springs up as though its spitting.  I want this to only happen when the player walks past it or animate once with a click using the scripts we have been provided with in our lessons.


Unfortunately it was only after I had done all this that I looked at the tutorials for the lesson on 3D in maya that I had missed and discovered that the shaders I had used were unable to be imported into Maya.  I have since gone about adjusting my model with vertex color to create this much simpler design:


After working with Maya all day, I'm quite exhausted and plan to carry on with this tomorrow, importing the file into Unity.

Wednesday, 31 August 2016

INTERACTIVE :: 31/08/16 - Fun with Toon Shading

My moth was chosen for the main character of our game!  We plan to adjust it as needed if it doesn't suit the game aesthetic or needs to fit better within the world.

After our lesson on toon shaders and how we can use them to create models for maya, I made a very hasty model of our moth character minus hair and played around with light sources and colors.


I may need to up the poly count as I don't really like how jagged and blocky everything is at the momoent

Tuesday, 31 May 2016

CINEMATIC :: 01/06/16 - Role changes

I spent the later half of last week sick, so regrettably I wasn't able to get a lot done.  Our group has been making a lot of good progress with how we want things to look and the kind of animation that we're striving for, but the tutors really want us to crack down on animation so that we have the animation there, even if it needs a lot of refining.  It'll be solid and set and out of the way, and the sooner we can get that done, the better

But because of this, I've been moved from mattepainting duty to animation, where I'm currently working on in-betweens for Shot 4 and shot 7!  There isn't a lot for me to do that Tea hasn't already captured beautifully, but the sooner I get these done, the sooner I can work on whatever else she needs me to add to and the sooner we can have these roughs finished!

So far this is all I have to show.  I'm noticing now that my timing might be a little off - it not as fluid as I'd like, but i'll see what the team thinks tomorrow.


As for my mattepainting, this is where I had to leave off working on shot 4:


Thursday, 24 March 2016

CINEMATIC :: 25/03/16 - progress and updates

The week after submissions was a pretty hectic one, as we spent all Monday filming our footage.  I was in charge of mostly holding sheets and mirrors while Oscar and Hamish took on the biggest roles amongst our team of acting and filming.  The rest of the week was covered by tutorials, but I did manage to make some depth plate/compositions based on guidelines Hamish gave me


These were done mainly to observe how compositions form in nature, and how we could apply it to the very naturalistic spiritual world.  Things that I have noticed are that compositions where the focal point is in the center tend to be quite small and generally have harmonious circular shapes to strengthen them (second row first image on the left is one I'm particularly fond of).

Over Thursday, I sketched up a few background concepts with Tea and Jo giving me feedback as to what they would like to see.  Much as I love environment design, composition isn't my strong point, so it really helped to have others look at it and tell me what things they thought I should add and where.  We found an absolutely gorgeous landscape image on tumblr that has become a central source of inspiration for our backgrounds, due to the symmetry and colors captured in it:


With this in mind, I managed to come up with a set of rough sketches for the Spiritual world and slapped on a few experimental colors


At this point I'm still not too happy with how the colors in the spiritual world look, but I'm assuming I can tweak those later.  We had a discussion on Thursday about the central focus of the composition as well, and an idea came to light about replacing the central tree with a huge monolith that would help to convey the idea that the ipod in our video would be cutting out.  Tea has sketched up a beautiful concept for how it would work and how it would bring about the transition from light to dark worlds, and her 'monolith' looks a lot better than the sketchy ones I've drawn here.  I might have to resort to pillaging her ideas again.

What I would really like to do over the next few days is livestream a session for my team where I work on the background and they can give me feedback for it in real time.  As I'm having issues with my internet, this probably won't happen, but it would be something I'd like to do at this stage.

I'm going to aim to have a background with proper perspective drawn up by Monday Night.  So stay tuned for updates.